Make a planter out of used tin can

Budget:

  • $0 left-over tin can (Christmas gift – caramel popcorn!)
  • $0 painter’s blue tape
  • $0 left over spray paint
  • $4.2 4 QT. potting soil + fertilizer

HA.  I knew there was a project waiting to be made out of the tin of popcorn that I received as a Christmas present.  Of course,  the popcorn was the present, NOT the tin can.

Step 1: Measure the same distance from one edge of the can, make marks, and use painter’s tape to circle around the tin.  The plan was to let the original green of the tin to show through.  I taped 3 rows of the tape to reach the desired width.

Step 2:  Spray paint the pearl-white paint all around.  I suspended the can to make sure none of the sides/edges touch anything while drying.

Step 3:  Use very-fine wool spool I had to sand off the surface to make sure smooth surface.

Step 4:  Pull off the tapes.

Continue reading

Decoupaging our own Christmas tree topper star

This year marked our 1st year spending Christmas on our own, without plans to be with our families across the country.  We decided to get to a tree.  Surprisingly, tree toppers are hard to buy around here.  Well, maybe that and we procrastinated our tree shopping until a week prior to the holiday.

Therefore, we’re making our own tree top!

Budget:

  • $7.50 for cardboard star
  • $3 for red tissue paper
  • $0.99 for 2 glitter pens
  • $0 mod podge – already owned
  • $0 exacto knife

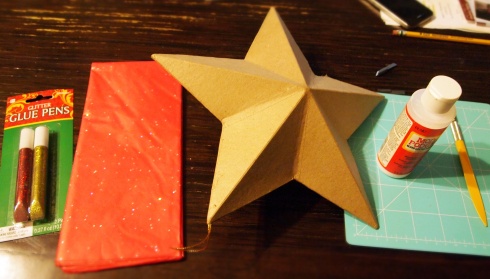
cardboard star, tissue paper, glitter pen

Step 1:
use exacto knife to cut one hole where the top of tree will go into.  See the circle in picture.

Step 2:
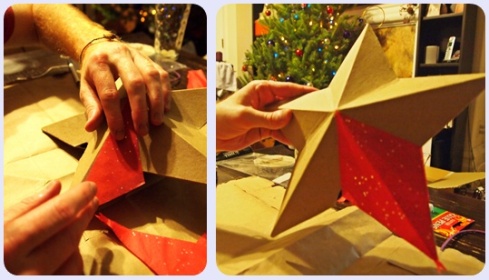
take a whole sheet of tissue paper, fold it multiple times to roughly the size of 2 star sides.  Cut tissue paper to a little bigger than a side triangle.

Step 3:
brush on the thin all-purpose glue (mod-podge), then affix the cut triangle papers onto all sides of star.

if you’re an accomplished decoupage-r, this will be very easy for you.  My 1st project didn’t work out as well.  Hopefully, 2nd time will be the charm for me. 🙂

Step 4: 
slowly apply all paper pieces onto the star.  Go around the whole star for 2 layers.  After both layers dried, apply mod podge all over the star to create a shiny exterior.

Step 5: 
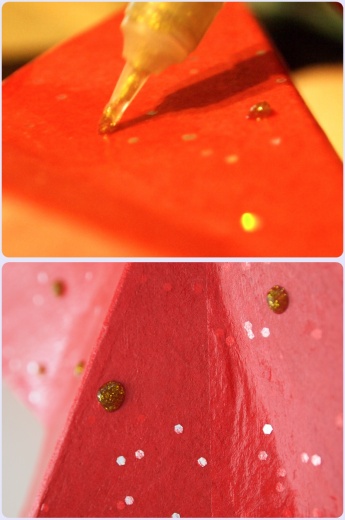
apply drops of glitter pen (which is basically glue in a tube with glitter)

The glitter drops will take a while to dry.  Be patient.  Don’t move the star around too much.

decoupaged star with glitter drops

Step 6: 
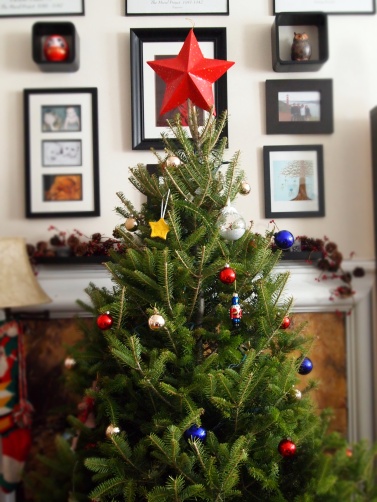
Position the star on top of the tree and enjoy!

decoupaged red star

shower curtain rings turned Mini Wreath by Katie Brown

A little holiday elf dropped this tutorial by the lovely Katie Brown at Smile Like You Mean It blog this morning.  It is so cute and simple, and I had all the materials needed.  I just HAD to make it.  Right Now.

Full tutorial link here:  http://www.smilelikeyoumeanit.net/2011/11/ornament-1-mini-wreath-tutorial.html

Here is my attempt:

Materials:

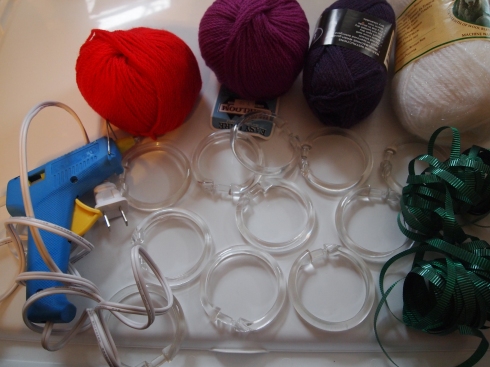
  • old shower curtain rings
  • glue gun
  • yarn of various colors

shower rings, glue gun, yarn

Okay, I know there’ll be a bunch of trial & error there, since I wasn’t sure about my patterns, color combinations, or length of yarn I needed.

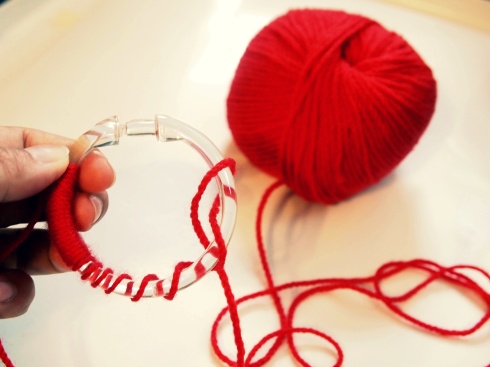
Attempt #1:  wrapping yarn on my finger before looping it onto a ring.

Verdict:  not exactly as efficient of a strategy as I hoped for.  Next!

Attempt #2:  stick with the basic approach – one loop at a time.

Verdict:  it actually wasn’t too bad.

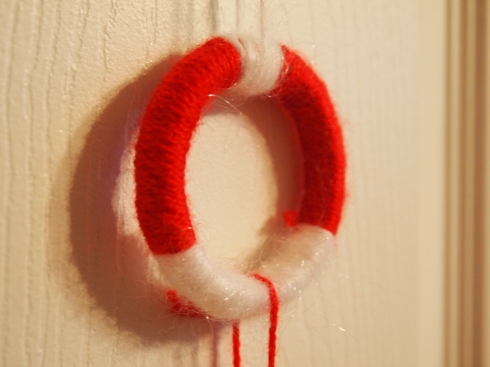
Ta-da!  Look at what I made.

I decided to string a bunch of them together and hang them in front of my closet door.

If my ceiling wasn’t 10 ft. tall, I would string them across my ceiling too.

anywhere else you can think of putting them?

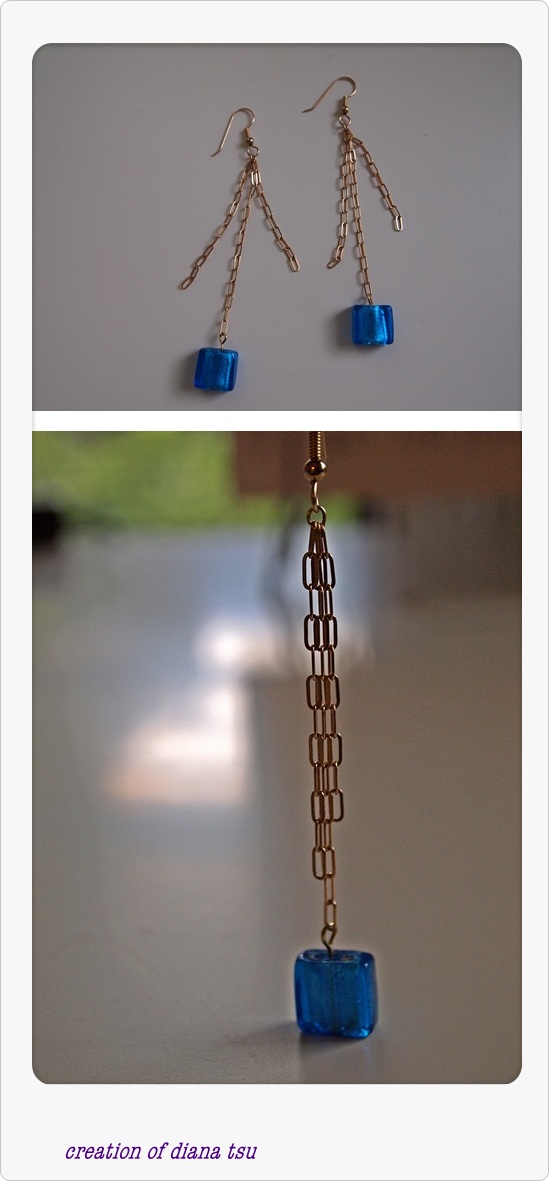
diana’s home-made earrings – the blue series

Whenever I pull out my jewelry-making box, I can’t make just one.

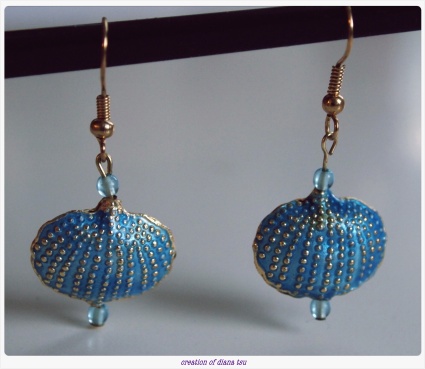
First up, this is a pair of “beads” (the big blue with gold dots part) I found a Alameda Antique Market that I’ve been wanting to make earrings out of.  I finally did!  I imagine they’ll go well with a vintage dress.  What do you think?

DIY, blue & gold,

Then, I have something a bit more modern.  I’m noticing a ‘Blue & Gold’ theme here.  Hmm…  I might need to come up with something “Cardinal & Gold” to balance it out?  hmm…

diana tsu creation

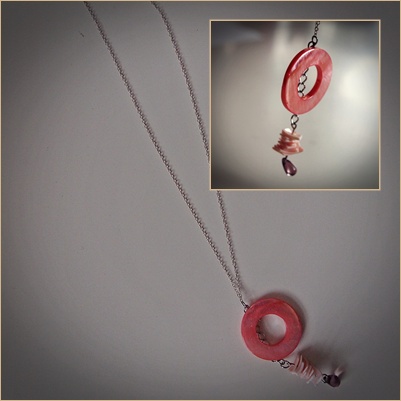
Lastly, I made a necklace.  There’s something about combing a circular object and tear drop shape that appealed to me.  So this doesn’t fit within the “blue” theme.  Oh well.

diana tsu

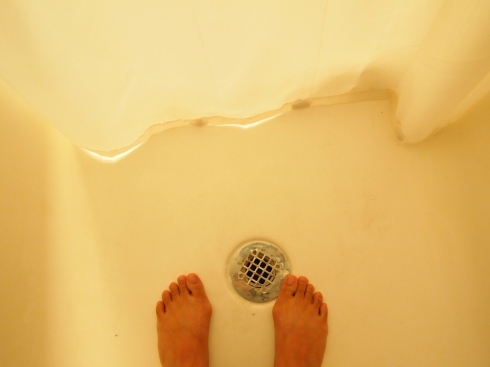
DIY shower curtain fix for small stall

Our Boston apartment is small but we love it anyway.  However, bathroom is one place that we try to spend as little time in as possible.  Not only it’s so small that it doesn’t fit a tub, the shower is a stand-alone stall so tiny that we can’t even find any pre-made shower curtains that fits.  Everything’s too wide and too long.

Having shower curtain too wide for it is not that big of a deal.  Its being too long means the bottom of the curtain is stuck inside the shower stall floor and stays wet for extended period of time.

Budget:

  • $15 for shower (stall-size) curtain from Bed Bath and Beyond.
  • $0 for rocks
  • $0 for thread & needle.

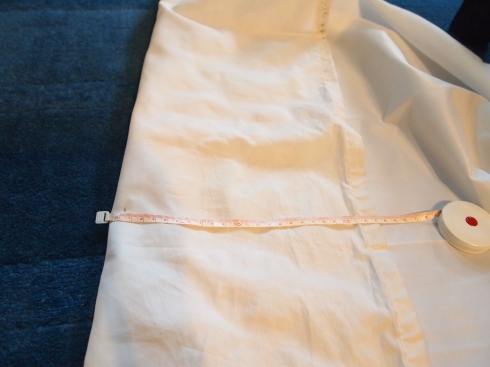
Step 1:  Measure the extra length to be cut off

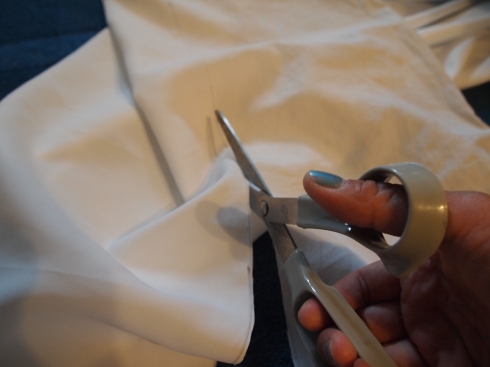
Step 2:  Cut off the Extra length & sew

My plan is not only to cut off the extra length, but also to add some weight at the bottom to keep the curtain inside of the stall to prevent water spill.

Step 3:  load rocks

You can see that sewing isn’t my strength, but it gets the job done.  Every few inches, I’d put the rock inside and sew around the rock.

Step 4:  hang the curtain back.  Ta da!


ALDO’s smart shoebox design

This smart concept makes me break my blog rule of posting only projects I’ve made.

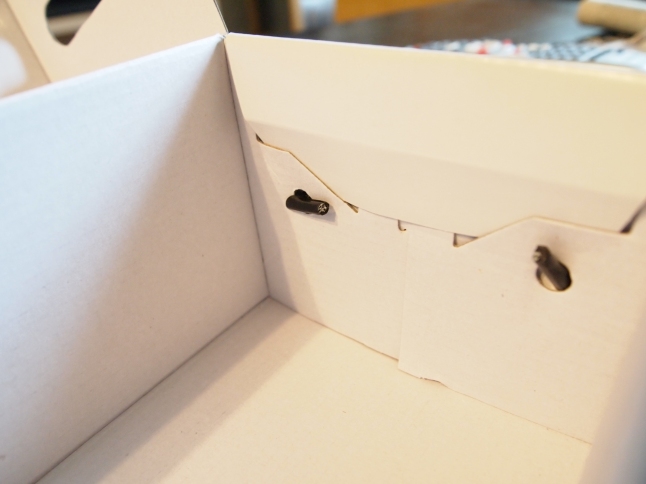
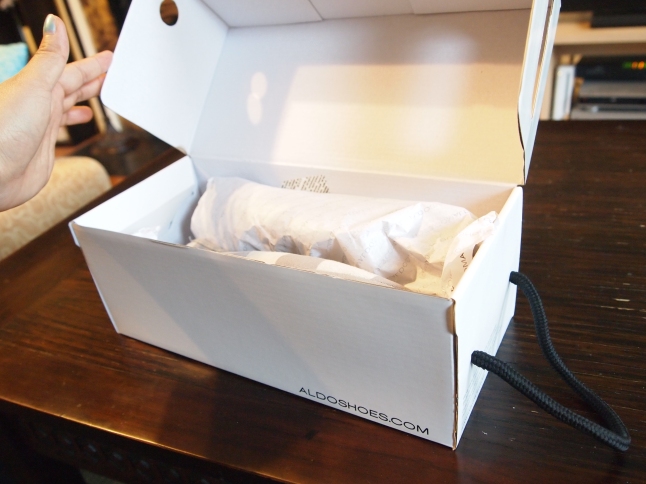
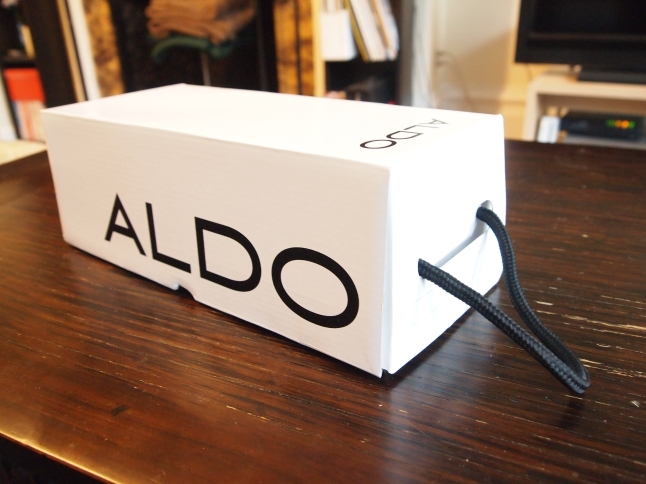
By simply adding holes on the box & allowing the cashiers to attach the strings easily after a customer pays for the merchandise, it eliminates the need for plastic bags.  The string makes pretty good handles and quite comfortable to carry out my new shoes.

Good job, ALDO shoe box designers!


From the outside

corkboard jewelry display / organizer

Smaller apartment means new set of challenge on how I can store & organize my jewelry.  Continuing with my previous theme of “needing to see everything to remember wearing everything”, I decided to make something else for my new bedroom.

Budget:

  • $o for old cork board
  • $0 for old acrylic paint, paint brush
  • $0 for old fabric head band that I no longer use
  • $0 for little screw hooks I already used for old hanging jewelry boxes.

diy, jewelry organizer

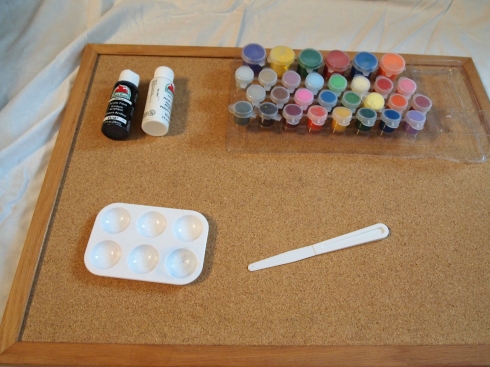
Step 1:  mix colors & paint the boarder of the board.  I wanted a deep grey to mimic other metallic frames in the room.

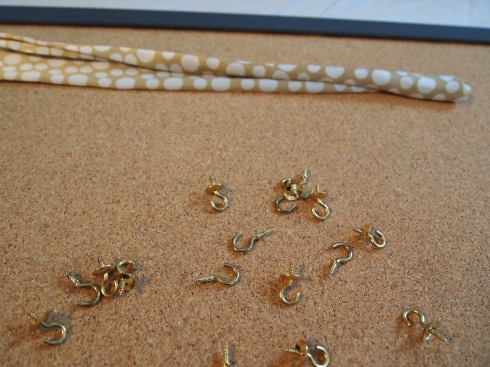
Step 2:  cut head band to pieces & take out the screw hooks.

Step 3:  position the fabric strips with thumb nails.  Insert the screw hooks. 

A word of advice – take an inventory of what you have and how you’d want to organize them first before you start putting things on the board.  Otherwise, you might find yourself pulling and re-inserting.


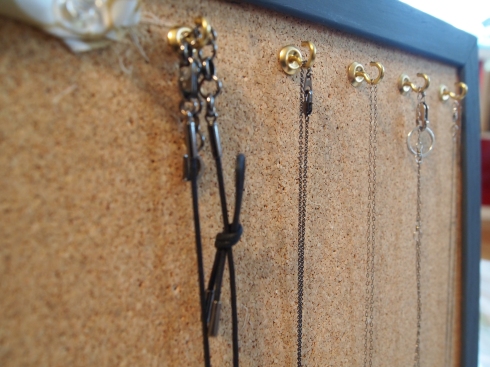
Step 4:  hang your beautiful necklaces, earrings, bracelets, etc.


new home in Boston

Lots have happened in Mango’s life in the last 5 months.

  • moved across country – yay!  new apartment to play interior decoration!
  • experienced one of the biggest snow season in Boston
  • dealt with the possibility of losing a close family member forever – luckily, it was just a dress rehearsal.

now I have lots of catch up with on this blog for all the fun new projects I am trying here.

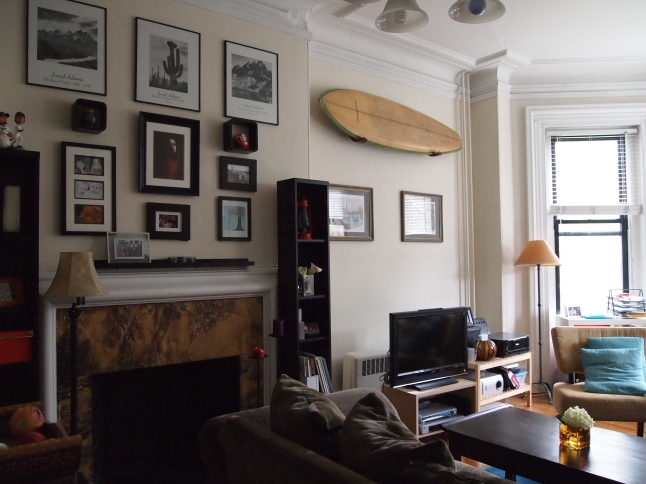
To start things off – here is the new apartment!  It’s basically one large room that is our living+ dining room + kitchen.  The bedroom is pretty small so we don’t usually hang out in there.

On one end, you have beautiful windows that provides an awesome view.

Main living space

Check out the tall, flat / 2D looking building outside the window – it’s John Hancock Tower!  It’s the tallest building in Boston.

View from the living room

The other end of our main living space.
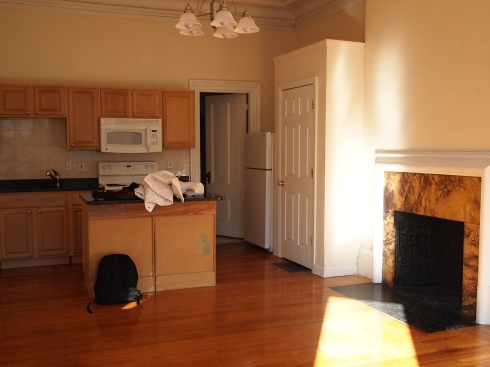
Main living space + kitchen

The chaos we started out with.

The apartment has a VERY tall ceiling.  So tall that we get to stand a 10 ft. long surf board straight up.

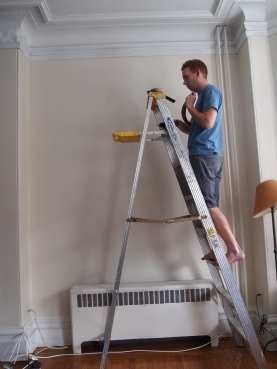
It’s so tall that I wonder how we are going to get our thin comforter (which we have cleverly stored on top of the closets) down.  Neither one of us can reach it on a regular chair, and the building ladder is nowhere to be found.

The fun part – hanging stuff on the wall.  We picked an older brownstone building for the lovey and different look we’re used to see in California.  Well, we should’ve realized that it also means brick walls under the dry wall & paint.  Very different kind of hanging techniques needed.

Man hard at work with drill... and realizing we have bricks behind the dry wall.  arrrrrgh.

After finding correct drill bits for the brick walls… off we go.
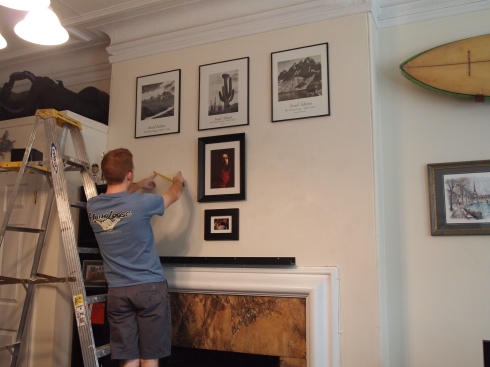
Finished Living room
Thanksgiving table decoration with DIY moss balls in tin cans

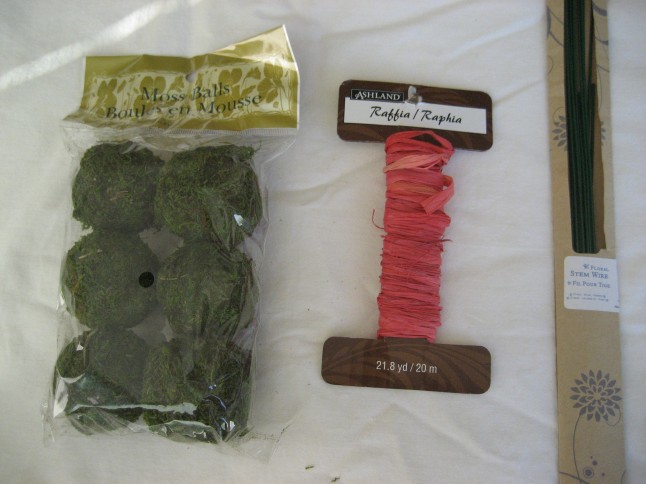
Budget:

  • $4 for 6 moss balls
  • $2.5 for raffia ribbon wrap
  • $4 for floral wires
  • $1.95 x 6 for tiny tin cans (not pictured)
  • $2 for a square floral sponge

moss balls, floral wire, ribbon wrap

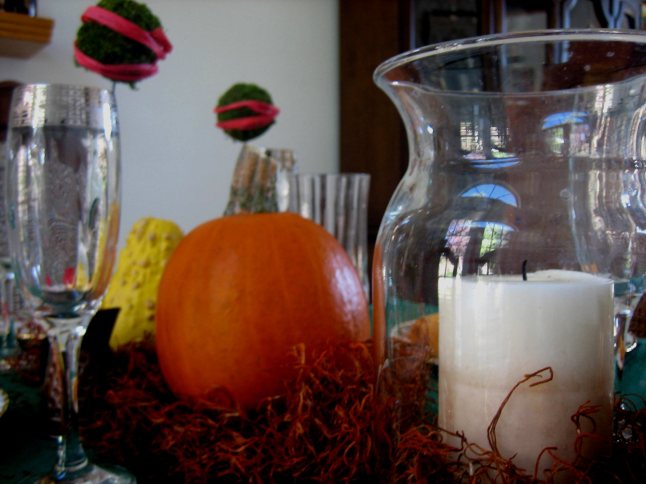
My plan was going for a rustic look with natural elements.  I picked up a bunch of materials from Michael’s Stores to test out my creativity.  I placed red loose moss strands at the bottom of the vases and on the table as base.  Candles are placed inside the vases, and real small pumpkins and squashes, on top of the moss.

pumpkin, candle, moss ball

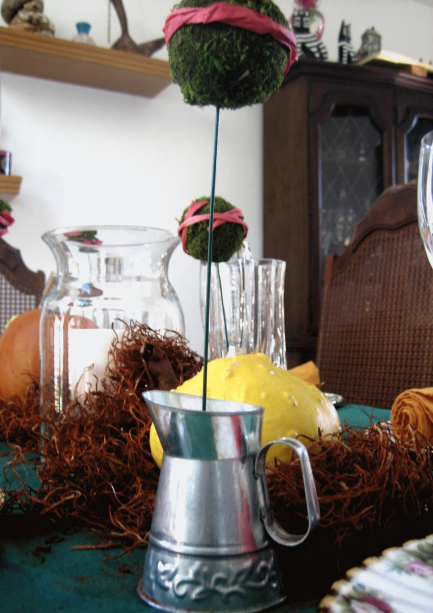
Lastly, I created my DIY project.  Each moss ball was attached to the floral wire, which happened to be green.  Then I insert each ball-on-wire piece into each tin.  There is pieces of floral sponge that’s inserted inside of the tiny tins.  Lastly, I cut pieces of ribbons and wrapped them around the moss balls.

DIY art-moss ball

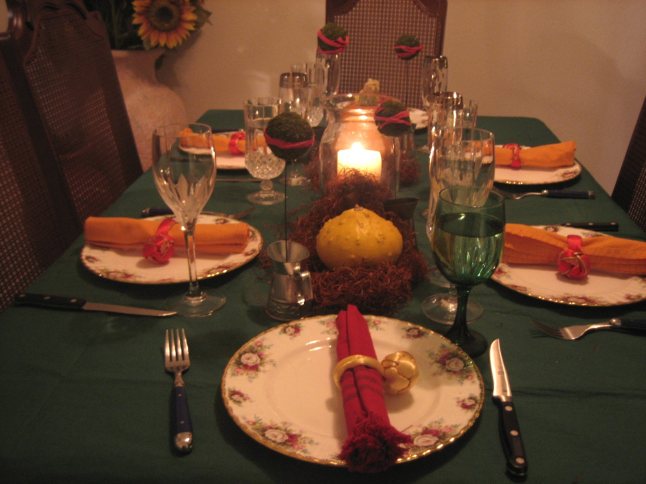
This is what the finished look right before dinner time.

Thanksgiving table decoration

Thanksgiving table decoration

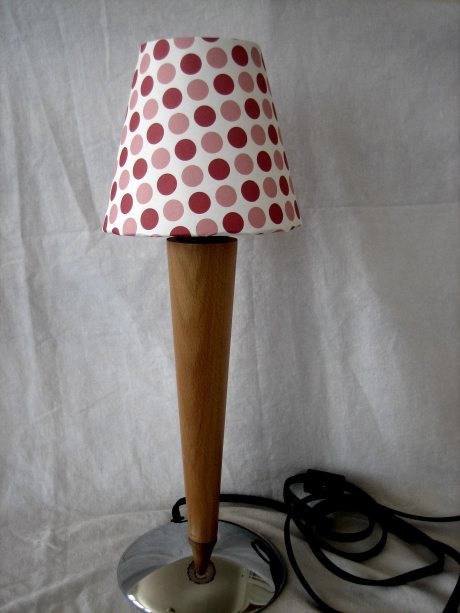
self-adhesive DIY lampshade

Budget:

  • $6 for lampshade template with self adhesive surface
  • $3.5 for polka dot paper

Time:

  • about 30 minutes
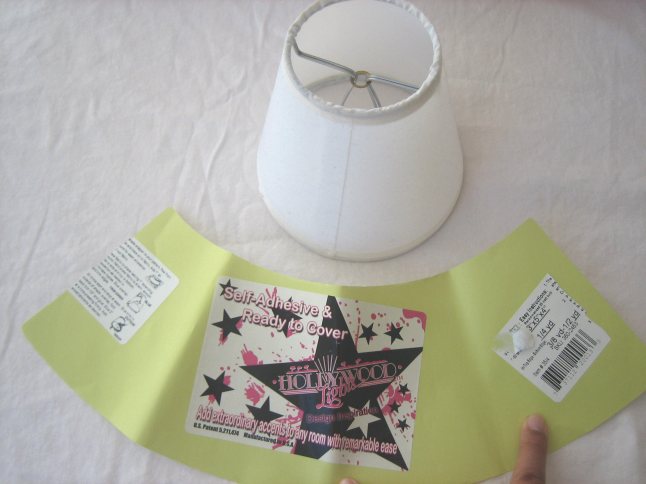
Step 1: lining up the raw materials.


self-adhesive lampshade


Step 2: trace the green template on the back of the paper I wanted to use on my lampshade.

add an inch on all side of the template for wrapping.

Step 3:  cut out the traced paper pattern.  Start carefully lining the paper on the self-adhesive surface


Step 4:  Wrap the extra margin to the inside of the shade.  Make cuts along the side to the paper bends smoother.  Tape down the margin of the paper that’s now inside of the shade.
Done.